Monday, 7 January 2019

4 Easy Ways to Take Control of your Health in 2019


Do you want to change your health for the better in the New Year, but you just don’t know where to begin?

Well, to help you out a bit, here are 4 easy healthy habits that you can adopt to help you take charge of your health and general wellbeing in 2019!

1. Come up with a meal plan

It is so much easier to eat healthy, well-balanced meals if you have the ingredients on hand with all your meals planned out. Make a meal plan for the week and then do one big shop for everything – this makes it easier to plan what you’re going to eat, plus the kids can help so everyone feels involved.

Image result for meal plan

2. Always have a water bottle on hand

It is so important to stay hydrated, so be sure to always try and drink 4 – 6 glasses of water a day! When you carry around a water bottle with you you’ll be less likely to choose a fizzy, sugary drink when you need to quench your thirst.

Image result for drinking water

3. Eat the colours of the rainbow

Always include produce of a range of different colours into your daily diet such as spinach, carrots, beetroot, tomatoes, strawberries,bananas, etc. These fruits and vegetables are packed full of nutrients and fibre and can help you stay health and protect you against illnesses.

Image result for rainbow produce

4. Enjoy what you eat

This tip is an important one, but it is often lost amongst all the new diets and fads that come and go so often. Cooking together with your loved ones, sharing and finding joy in the food that you eat is vital when it comes to staying healthy and happy.

Image result for family happy cooking

Use these 4 easy, helpful tips to take control of your health and wellbeing in 2019!

Supply Doctor is an online medical supply store that offers reliable medical equipment and products that everyone can afford - place your orders today from 021 110 0422 or email info@supplydoctor.co.za

Monday, 10 December 2018

7 must-haves for your First Aid Kit


Whether it’s a skinned knee or a sprained ankle, having the correct medical materials in your first aid kit is essential. Packaging your first aid kit doesn’t have to be expensive or take up a lot of room at home or in your car.

Image result for first aid

Take a look at Supply Doctor, an online medical supplies website, for a wide range of first aid equipment as well as bags and boxes.

Here are 7 important must-haves for your first aid kit:

First aid manual – You may not want to waste space in your kit, but having a manual is important as it can offer essential tips and guide you on how to treat certain wounds, etc. Learning how to treat injuries while waiting for professional help can really make a difference.

An assortment of bandages – Whether you need gauze for a large wound or a simple adhesive strip for a small scratch, having assorted bandages in your first aid kit is essential. Bandages come in a range of shapes and sizes, so be sure to pack a variety.

Antiseptic and ointments – Should someone injury themselves, it is vital that everything is sterile to avoid infections. Be sure to include antiseptic, hand sanitizer and sanitary cloths in your first aid kit. Toss in a pair of non-latex gloves to safely apply any antiseptic or ointments.

Instant Compress – Aches and pains also need to be treated, so make sure your first aid kit includes a heat pack as well as an ice pack. An instant compress is recommended to reduce any swelling.

Scissors – A good pair of scissors is a necessity in your first aid kit. In addition to cutting gauze you may need to cut other material like clothing during an emergency. A regular pair of scissors is fine along as they are sharp enough!

Medication – Pain is a big deal, especially to little children, so it’s a good idea to have children’s pain reliever as well as pain relieve for adults in your first aid kit to reduce fevers, headaches, sprains and other pains.

Tweezers – This device isn’t just for plucking stray hairs. Tweezers can come in handy in your first aid kit, especially if you need to remove splinters, glass and ticks.

Image result for first aid at home

Accidents of any kind are bound to happen, anytime or anywhere. So, it is crucial for you to have a well-stocked first aid kit on hand at all times!

Tuesday, 4 December 2018

Do you know what an Ultrasound is, and what it is used for?


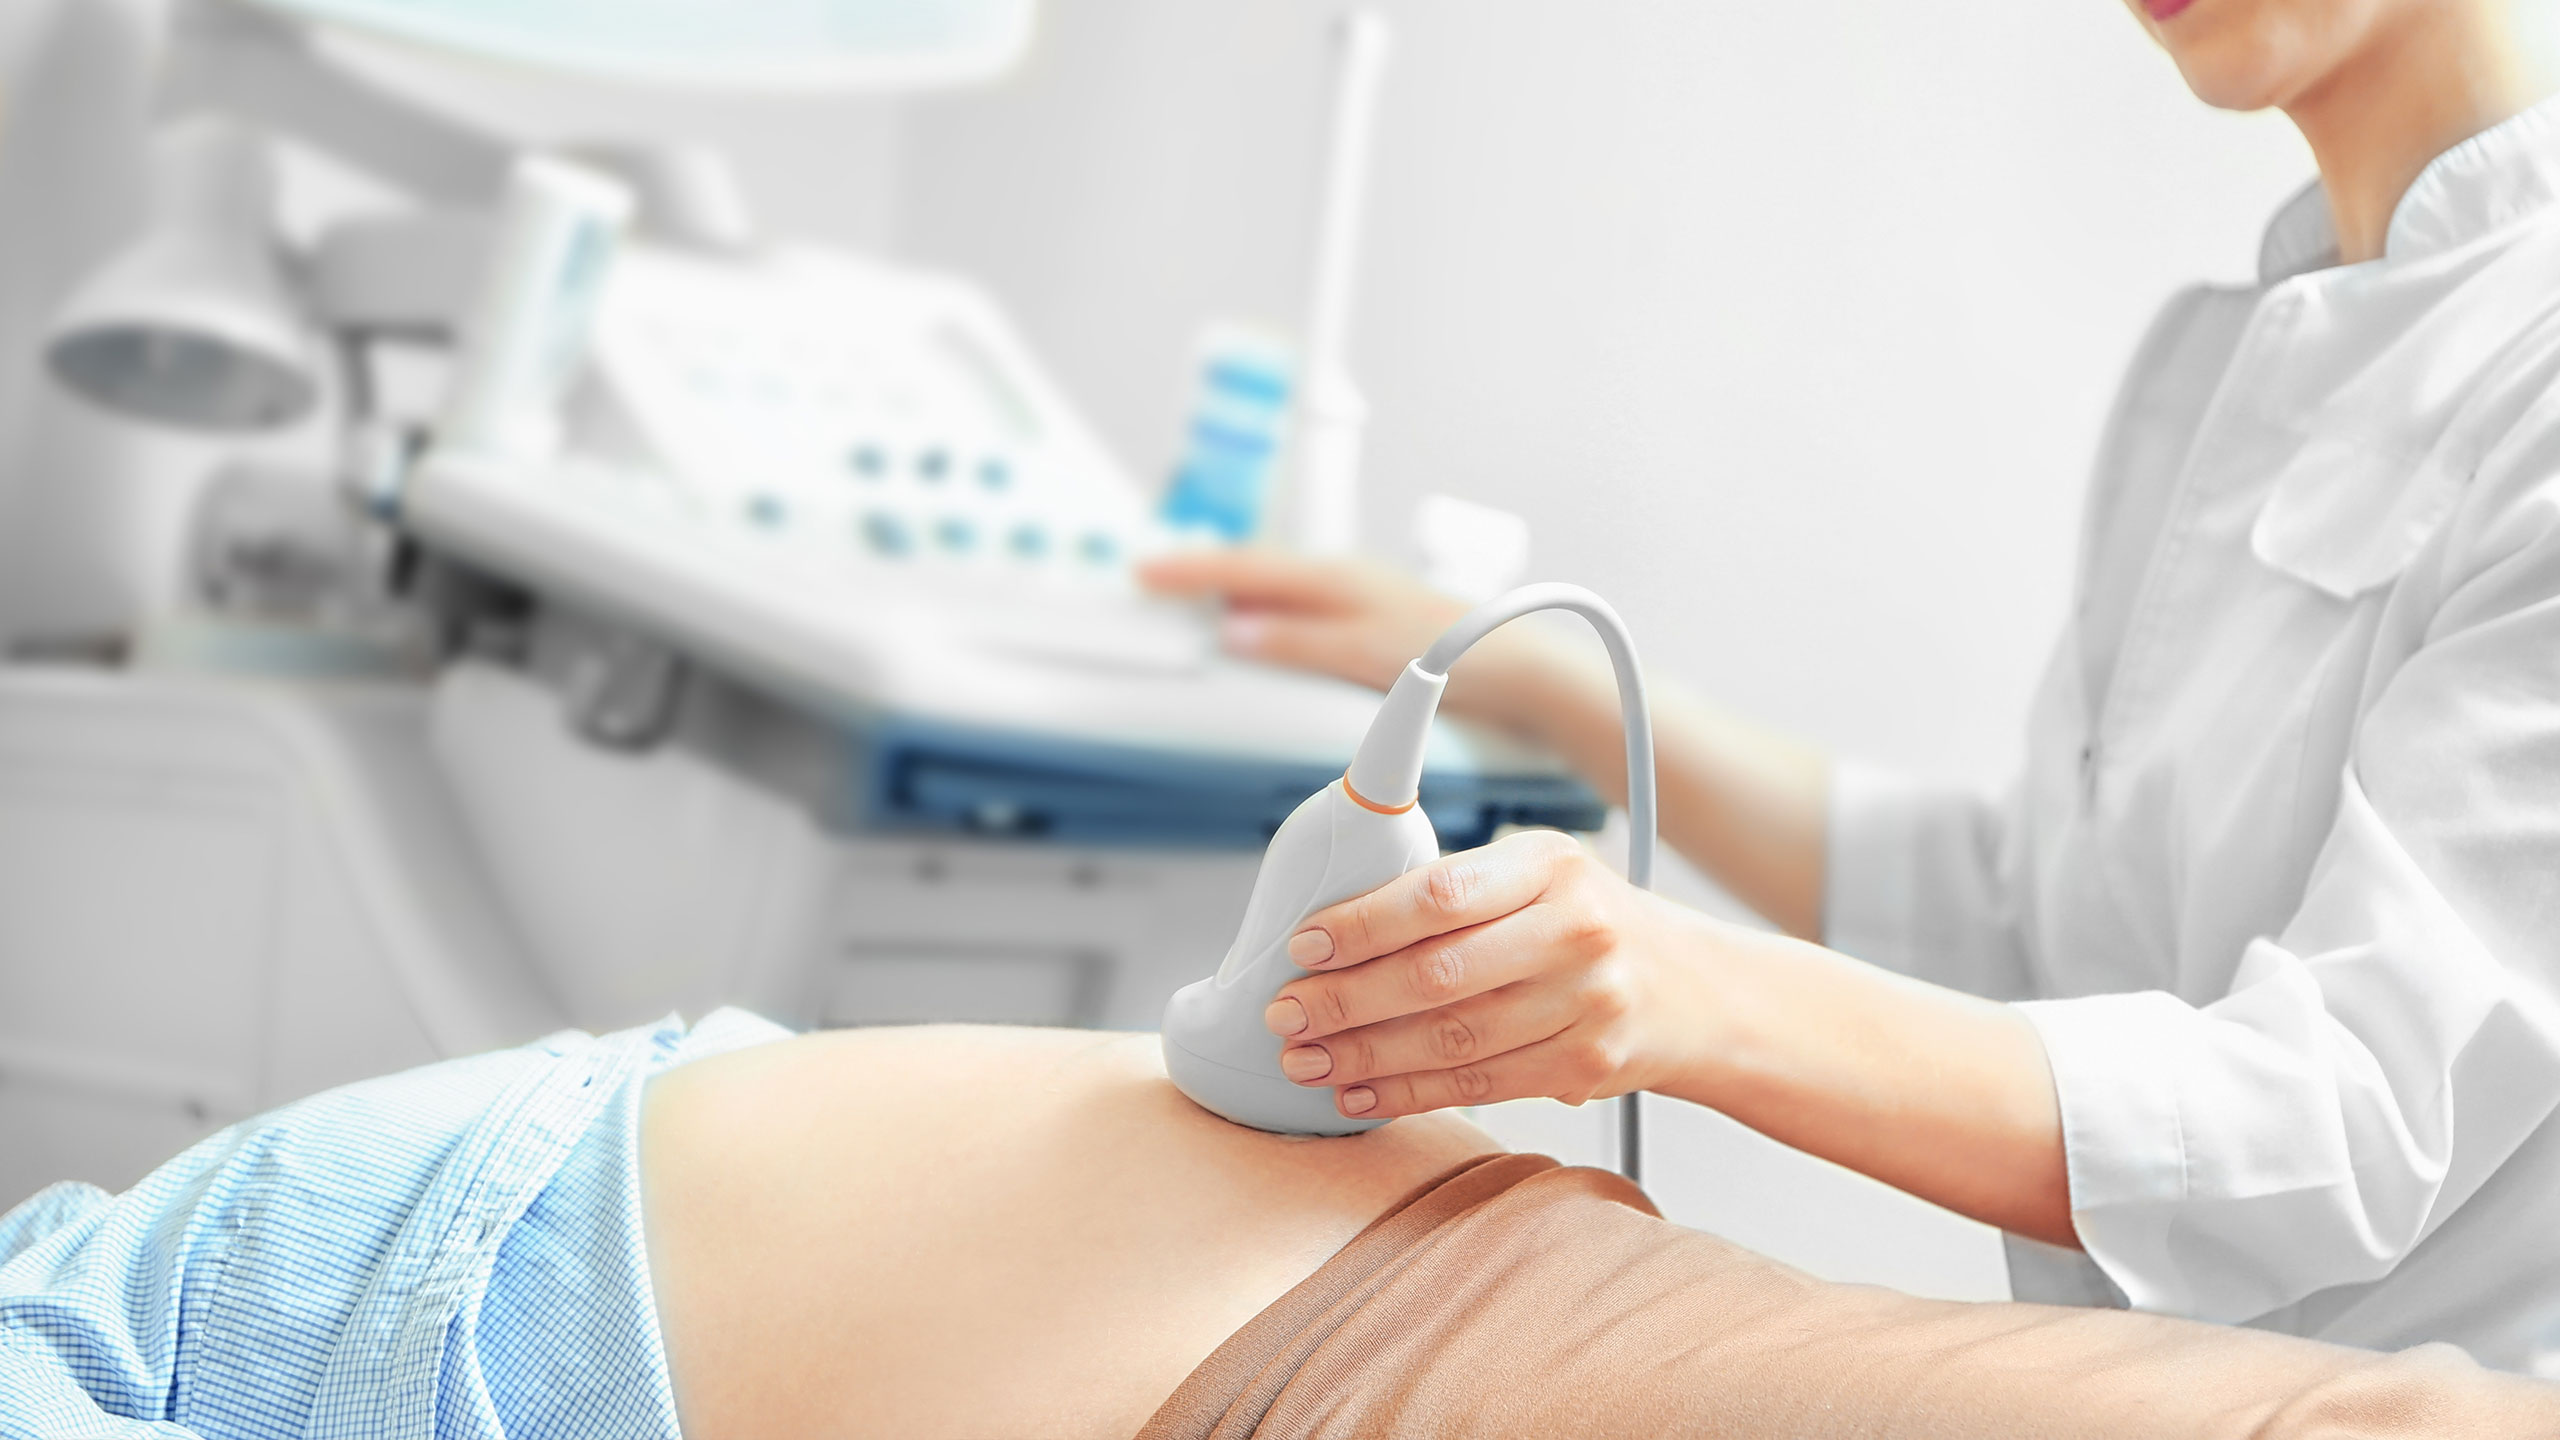
Well, an ultrasound is a medical test that uses high-frequency sound waves to capture live images from inside your body. The ultrasound scan will allow doctors to see if there are any problems with your organs, vessels and tissues – without having to operate or make an incision.

Image result for ultrasound

An ultrasound isn’t just for pregnant women; it has a range of different medical uses. Your doctor may suggest an ultrasound if you are experiencing pain, swelling and other symptoms that need an internal view of your organs.

An ultrasound scan can provide a view of your:

- Bladder
- Brain
- Eyes
- Gallbladder
- Kidneys
- Liver
- Ovaries
- Uterus
- Blood vessels

An ultrasound is also a useful way to guide surgeon’s movements during certain medical procedures, such as a biopsy.

Related image

There will be some steps to take in order to prepare for an ultrasound, but it all depends on the area or organ that is being examined.

Your doctor may tell you not to eat for eight to 12 hours before your ultrasound. For an examination of the gallbladder, liver, pancreas or spleen, you may be told to eat a fat-free meal the night before your test.

Always be sure to tell your doctor about any prescription drugs, over-the-counter medications and herbal supplements that you have taken before the ultrasound.

Luckily, an ultrasound carries no risks at all. Unlike X-rays or CT scans, they use no radiation, that’s why they are the best method for examining a fetus during pregnancy.

Related image

Need an online medical supplier to provide you with medical products quickly and conveniently? Place your order on Supply Doctor today!

Monday, 5 November 2018

Here’s how easy it is to take your own Blood Pressure at Home!


It may seem like a complicated task, however taking your own blood pressure in the comfort of your own home is simpler than you think.

Related image

First of all, you’ll need a reliable blood pressure meter – If you don’t have one, Supply Doctor offers a range of affordable, high quality blood pressure meters you can use from home.

Once you have your blood pressure meter, all you need to do is follow these easy steps…

BEFORE you take your reading:

- Make sure you are not stressed out or that you haven’t just finished a big meal
- Do not take your reading if you have just smoked a cigarette or had a cup of coffee
- Wear loose clothing or a short sleeved shirt
- Make sure to always use the same arm every time you take your reading
- When you take your reading you should be in a quiet area with your arm on a flat surface and both your feet flat on the ground
- The blood pressure cuff around your arm should be at the same level as your heart

How to take your reading:

1. Put the cuff on and make sure to read and follow the instructions that came with your monitor
2. If you are tense or stressed this will affect your reading, so stay calm and relaxed
3. When you are busy with your reading, be silent and keep still
4. Take two or three readings, take a two minute break between each one, and then work out your average reading
5. Be sure to keep a record of your blood pressure reading – write it down in a journal or on your computer

Don’t waste your time going all the way to the doctor’s office to find out what your blood pressure is – get yourself a reliable blood pressure meter from Supply Doctor and use these easy steps to take your reading from the comfort of your own home!

Monday, 1 October 2018

Using a Nebulizer for Asthma Treatment


Related imageA nebulizer is an electric atomizer used to deliver medicine to help control severe asthma. It contains the same medicine that is found in your inhaler, except it delivers it in a different, more effective way. A nebulizer is often only used on people who are too sick or too young to use an inhaler.

So how does a nebulizer work? A nebulizer is a device that compresses the medicine and turns it into an air mist that you can breathe in easily using the mouth piece or mask. There are a range of different nebulizers available including convenient, portable nebulizers (click here for an affordable one from Supply Doctor) that you can move around with you when need be.

Here’s how to use a nebulizer…

1. Always check with your doctor first for any specific instructions and read through the package details.

2. Get familiar with every part of the nebulizer before you use it.

3. Find somewhere comfortable, sit down and relax.

4. Hold the mask in place and breathe in and out evenly until the medicine is completely vaporized out of the cup.

5. If you are using a face mask, put it in place over your nose and mouth.

6. Be aware that the process of using a nebulizer can take up to 10 minutes.

7. When you are done, clean the mouthpiece or face mask as well as the medicine cup – not cleaning your nebulizer can result in bacterial infections!

Related image

Nebulizers can provide instant relief when your inhaler fails to work. Always ask your doctor first and keep in mind that when it comes to asthma it’s always good to be one step ahead!

Supply Doctor is an online medical store that provides affordable, high quality medical equipment and products, including nebulizers - take a look here...

Monday, 10 September 2018

7 Vital Steps to Take when Treating a Minor Burn

Minor burns are common injury, however they can still be extremely painful. While you can treat a minor burn yourself at home with the help of a fully stocked first aid kit, it is best to get professional help should you have a severe burn. 

Here are 7 vital steps you need to take when treating a minor burn...

1. Run cool water over the burn. This will prevent further damage to your skin. Avoid using extremely cold water, since this can damage the skin around the burn.

2. Remove tight clothing or jewelry.
Anything that might constrict your skin as the wound swells needs to be removed. This lets blood flow to the wound and starts healing it.

3. Apply a cold compress. If cool water isn’t an option, use a cold compress or an ice pack wrapped in a towel. Place it over your burn.

4. Take an over-the-counter pain reliever. Use an over-the-counter pain reliever, if the pain and swelling does not lessen after several hours; take another does of the medication.

5. Clean the burn. After washing your hands, use soap and water to clean the burn. To prevent infection, apple an anti-biotic to keep the burn clean and Aloe Vera to soothe your skin.

6. Lightly cover the burn with gauze.
You may not need to apply a bandage to first degree burns, but small second degree burns will need a wrap to keep out any infection.

7. Watch the burn for infection. Keep an eye on the wound for changes in colour. Seek medical attention if a burn does not heal over several weeks. Let your doctor know if you experience any warmth, tenderness and hardening of the wound area

Image result for treating burn

Need some high-quality medical supplies to clean and treat your burn? Supply Doctor has a wide range of medical equipment that can suit your needs - contact us today on 021 110 0422 or email info@supplydoctor.co.za

Monday, 30 July 2018

How to use a finger pulse oximeter in 5 easy steps

A pulse oximeter is a medical device that measures heart rate and the oxygen level in the blood, expressed as the percent of oxygen saturation. Pulse oximeters operate by shining light through the skin to the blood vessels below. These devices are commonly used in many health care settings and are available over the counter. If you have high oxygen saturation (close to 100%) it indicates that the red blood cells are fully loaded with oxygen from the lungs.

Image result for finger pulse oximeter

Follow the steps to learn how to use a finger pulse oximeter:

Step 1
Turn on the pulse oximeter by firmly pressing the power button. The screen should light up almost instantly.

Step 2
Place the sensor, the part that opens and closes like a clothespin, on any finger, with the sensor screen above your fingernail. If the sensor doesn’t have a screen, run the cable along the back of your finger or hand. Don’t use the thumb because these readings are less reliable than finger readings.

Step 3
Wait until the pulse oximeter acquires a signal. This may take 10 seconds or more, depending on the device and the conditions. Excessive movement can decrease the accuracy of the result, so make sure to keep still.

Step 4
Look at the display to see the heart rate, usually indicated with a heart or pulsing light. The percent of oxygen saturation is typically indicated by the symbol “Sp02.” Many devices also have a pulse tone that beeps in time with the heart rate.

Step 5
Leave the sensor on for continuous monitoring. The sensor can become uncomfortable or cause pressure sores if you leave it on your finger for too long. Check and move the sensor at least every two to four hours. If only a single measurement is required, remove the sensor and press the power button to turn off the device.

Take a look at Supply Doctor’s wide range of medical equipment and supplies. There are many options to choose from, including pulse oximeters.